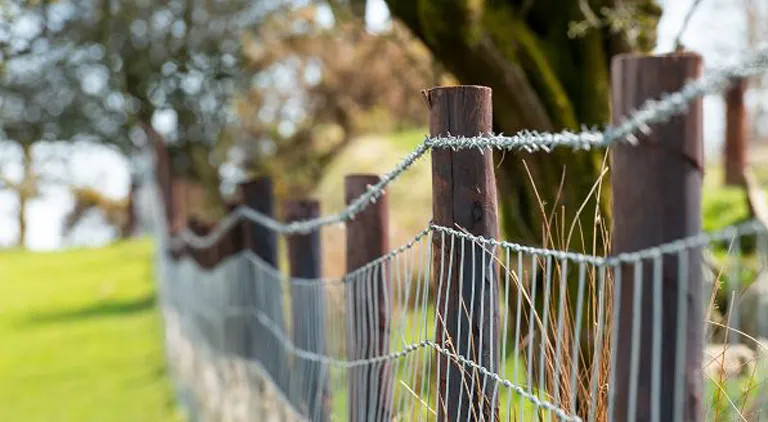
Shoddy fences? Accidents will happen!
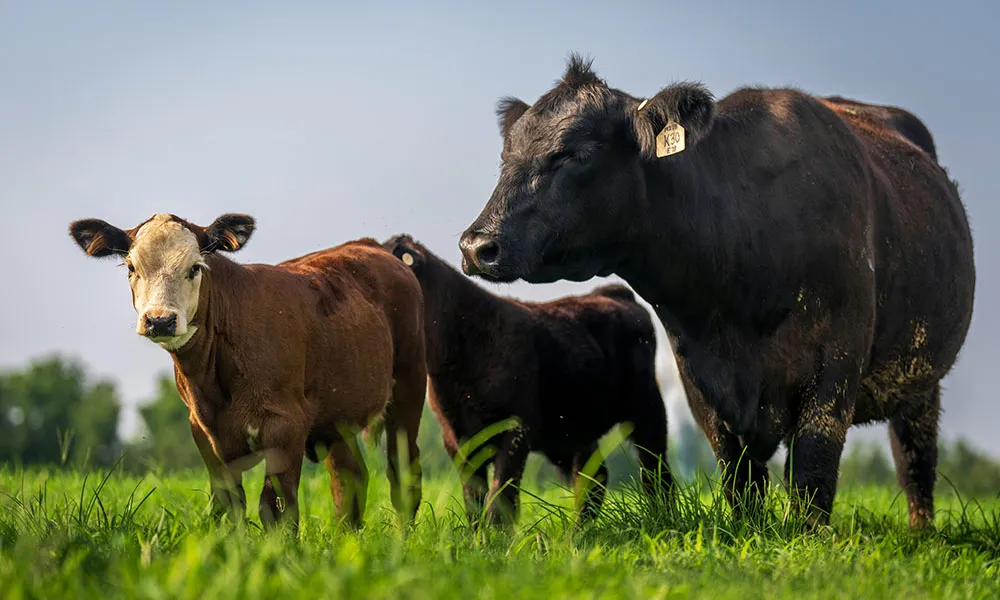
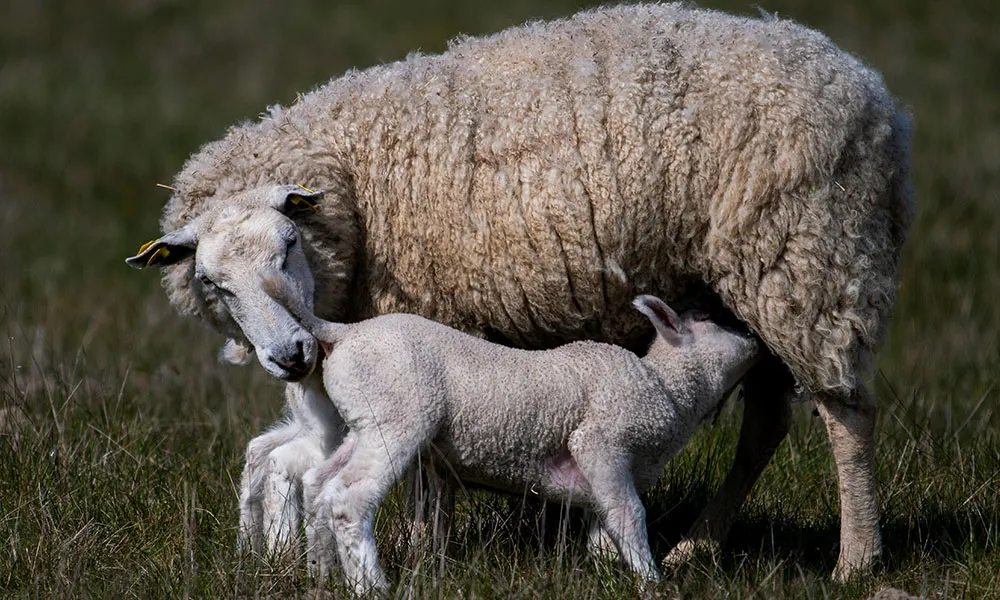
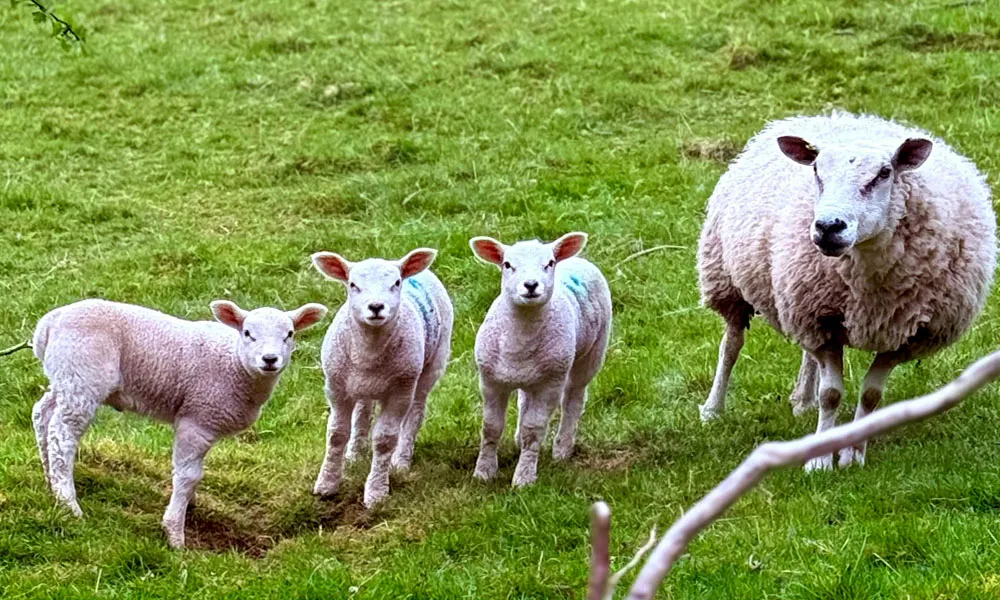
It’s spring, and that means livestock returning to pasture after a long, dreary winter on slats. All too often, it also means livestock escaping from said pasture. Driving to work on these crisp, clear March mornings, I’ve come close to collision with several ewes grazing blithely along the roadside, lamb at heel.
Now I sympathise with all farmers when it comes to the constant struggle to keep animals confined. Sheep, in particular, are notorious for testing every section of fencing; and we all have that one ewe who finds the grass a bit sweeter on the other side.
But those of us with livestock need to be careful, too. As farmers we shouldn’t forget that maintaining good fences is our responsibility. The road is no place for animals to graze. For all their ingenuity as escape artists, sheep and cattle have no understanding of the rules of the road. When we fail to keep them out of public spaces, we put motorists and other road users in danger. We also run the risk of harsh legal penalties that most of us would rather not incur.
On the upside, it’s not too hard to put up a fence that will keep even the most audacious animals confined to the paddock. There are plenty of excellent fencing contractors who will make sure that your fields are sheep-proof and cow-proof this year. But if you’d rather avoid the expense of hiring a professional to do the job, putting up your own fence is relatively straightforward. It just takes time, sweat, and a small amount of know-how.
To help you along, we at Agridirect have compiled a 10-step guide to erecting your own sheep fence. With this easy-to-follow fencing guide, you can be sure your woollies won’t be pulling off any great escapes this spring.
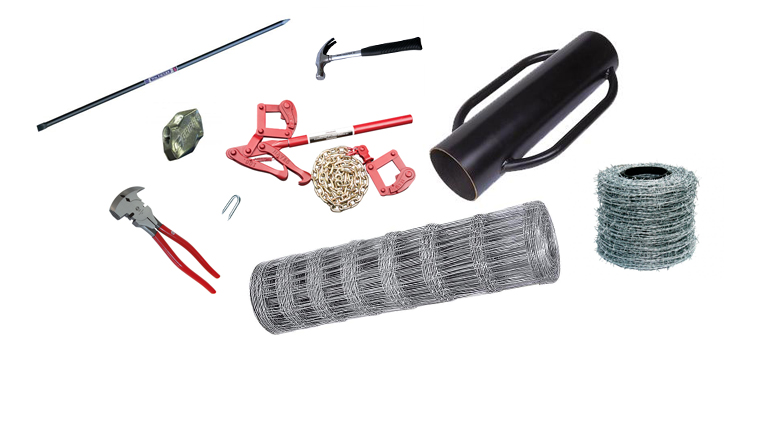
What you’ll need:
If you’re planning to put up a sheep wire fence with 2 rows of barbed wire on top, you should assemble the following items before you get started: 1 Post driver, 1 crowbar, 1 pliers, 4 wire pullers, 1 easy wire puller, 1 wire roller, 1 bell hook, 1 chainsaw, 1 hammer, staples, gripples, 1 gripple contractor, 1 role of polyrope (optional), several rolls of 3ft sheep wire, at least 2 rolls of barbed wire, steel wire for tying, a 5ft post for every 4m of fence, 7ft straining posts for corners and sharp bends.
10 Steps:
1.Clear your fenceline:
So you have all of your equipment together and you’re standing out in the field, assessing the task ahead. Great. It's time to clear the fence line. If the boundaries of the field are thick with bushes or thickets of brambles, you should cut these back, using a bell hook and a chainsaw as the need arises. This may seem like extra and unnecessary effort; but trust me, it’s not. You don’t want brambles growing on your fence, or branches falling onto it, just weeks after you put it up!
2.Stand your straining posts
Once the fence line is cleared, it’s time to set up your 7ft straining posts. These are the heavier posts that you will use for corners and any other bend in the fence where the wire is likely to put pressure once it is pulled tight. If you are fencing a small, square field with very straight sides, you may only need 5 or 6 of these. But if your fence is long and crooked, you will need a lot more. Make pilot holes for your straining posts using a crowbar, and place the posts into the pilots. Drive these with your post driver until roughly 4ft remains above ground. At this point it should be very secure, unless you are driving it in swampy ground.
Be very careful when using a post driver. Make sure that the lip of the driver doesn’t come “off the top” of the post as you lift. The force of your downward thrust will impel your head forward and your forehead will crack against the metal cylinder. If the straining posts are too large for the post driver, you should drive them using a digger.
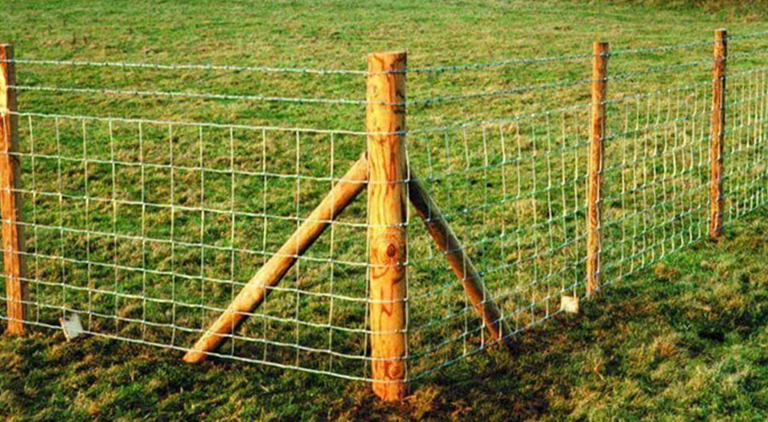
3. Secure your straining posts
Once you’re satisfied that your straining posts are deep enough, you should prop them with bracing struts at an angle of 50 or 60 degrees (see example above). Make sure the base of the strut is secure in the ground, and that the top is fitted into the strainer post, by cutting out grooves for them. Secure the top of your struts by nailing them on. You should also tie the strainers back with tying wire. Look behind the post (i.e. outside the fence line). If there are any sturdy trees close to the straining post, you can tie it back to one of these. If not, you should drive a 5 ft post at a 60-degree angle a couple of feet behind the strainer and in line with the fence, and tie to the base of this instead. When making your tie-back, be sure to pull the tying wire tight, using a pliers. Once it is taut, staple the wire at the crown of the straining post and the butt of the tie-back post to hold in place.
4.Establish a straight line between straining posts
Now that your straining posts are up and fully immobile, it’s time to get your fence line sorted. At this point in the project, it’s best to work section by section. In other words, you should fence from one straining post to the next, and get that section of fence finished, before moving onto the next stretch. If you want an arrow-straight fence, run some polyrope from one straining post to the next and pull it tight. The polyrope, like the fence, should run off the inside of the first straining post, and the outside of the next one (i.e. the corner post).
5.Make pilot holes and stand posts
Once the line running between your straining posts is straight, walk along it with your crowbar. Every 4 metres, make a pilot hole behind the rope. Stand a 5 ft post in each pilot hole.
6.Pound posts with a post driver
Once your posts are standing in their pilot holes, roll up the polyrope and take a breather. The work is about to get physical. Using your post driver, pound all of your 5 ft posts appox. 1ft into the ground. Don’t be too proud to take regular breaks, especially if the ground is dry and the soil compact. Using a post driver is one of few occasions when farmers with bad land have cause to rejoice! (Note: if the fence line runs into a hollow, drive a post in the hollow and tie it back using steel wire, as with your straining posts. This will prevent it from "popping up" under the pressure of the taut wire. Drive a post on either side of the hollow, too. When you are pulling and stapling (steps 8 and 9) you should leave the pull loose enough for the wire to be forced down and stapled onto this post. Staple the posts either side of the hollow first, and then pull the wire down onto the hollow post, using your foot if necessary. Staple the bottom strand first.)
7.Tie on wire and roll out
If you’re still on your feet after this ordeal, bind your 3ft sheep wire to the first straining post by wrapping it around it. This process is much trickier for sheep wire than for barbed wire. You have to remove all of the vertical bars from the first few squares of the roll with your pliers. Then you can loop each of the horizontal wires around the post and back onto themselves. Staple each strand of the looped wire to the straining post to secure it. Once this is done, you can roll out your wire on the inside, or field-side of your fence posts. If there are any minor bends in the fence line, take the wire "outside" the post that will take the pressure. Because sheep wire comes in shorter rolls than barbed wire, you will have to join rolls frequently. You can do this by connecting the horizontal wires to each other with gripples. Again, you may have to cut off a couple of sections of the vertical bars with your pliers to do this.
8.Pull the wire to the "next" straining post
When you have rolled out as far as the corner straining post, take the wire around the back or “outside” of it. You are going to pull the wire to this post. Using loops of steel wire, attach two wire pullers to the strainer post at the height that you want the top and bottom strands of your sheep wire. Apply a pull to the bottom strand of the sheep wire first, until the wire comes tight to the fence line. Then put a pull on the top strand. At this point, the wire should be standing up along the fence line.
9.Staple wire to posts
Move along the fence, stapling the top, bottom and middle strands to each post at the desired height. Always staple the top strand first, lifting it if necessary. Make sure there are no "bags" in the wire when you staple. Once all posts are stapled, return to the straining post. If there is still any sag on the top and bottom strands of sheep wire, apply another pull before stapling onto the strainer, using a pliers to pull the wire tight. With your easy puller, pull the middle strands of the sheep wire tighter and staple to the post as well.
10.Repeat for barbed wire, then repeat steps 4-10
Repeat this process for 2 strands of barbed wire, which should be tied and stapled to the posts 4 and 8 inches above the sheep wire. It is advisable to roll the barbed wire on the outside of the fence line and lift it in afterwards. This will prevent it from sticking to the sheep wire as it is tightened. Once the barbed wire is on and stapled, move to the next section of the fence and repeat steps 4 to 10.
And that's a wrap!
So that’s it for this week’s first blog entry. If you're new to fencing, give our 10 Step Sheep Fence a go and let us know how you get on.
Perhaps some of you more experienced farmers and fencers have good advice on ways to improve on our fencing guide. If so, please let us know your thoughts! We would be delighted to include any useful pointers in an updated version of this blog.
And remember, folks. Good fences make for good neighbours; but they also make for safer roads, and fewer legal scrapes.
MPG
Note: Thanks to my Dad, Mick Geoghegan, for advising me on this. Dad is a retired fencing contractor, with 30 years of experience in the field(s)! Keep an eye out for our full interview with him, which will be published on the Agridirect blog in the coming weeks.
For more great content as well as the latest offers, be sure to check us out on Facebook and Twitter.